 |
| All camped out with toys, raw bone and pillows for comfort |
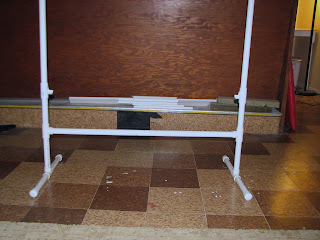
Treats and tricks are another post for another day but I wanted to get back to the DIY dog jump. Remember those? With Max out of commission for a bit, I'd almost forgotten but never fear! Here are the mods for DIY jump cradles.
You may have noticed, if you've looked at jumps online, that the bars to jump over are not permanently stuck in place. The bars are in pvc cradles so if a dog hits the bar the entire jump doesn't fall over. You can order cradles online but I haven't found a local source and they're a bit more expensive, especially when you factor in shipping.
Take heart, you can make them yourself using the pieces you already have!
First, check out the video which may give you a bit more clarity in the process. I've included directions below the vid if you need to see step-by-step.
First you're going to take apart your jump, just a little bit. You're going to take the top guide bars off and the top jump rail. You want the "t-connectors" that the jump rail sits in. For this you'll need:
- your two top "t" connectors from the original jump
- a saw to cut through plastic (I like my little multi-tool but use whatever works)
- a sharpie or other permanent marker
- sand paper or small power sander (I likeanother little tool but regular hand sanding works just as well)
- a clamp to use as a handle (optional)
Extreme close up but you can see how we cut along the lines and are left with a "U" shape. This is rough but functional if you wanted to stop here.
The next step is to sand the edges smooth. This shouldn't take too long since plastic sands fairly easily.
Reassemble by placing your new cradles back where they were when they were t-connectors and placing your jump bar in the cradles. You may have to shorten your jump bar by 1/2 an inch or so since they were originally cut to fit snugly.
Now you're good to go!


3 ways to get Casino Bonus Codes at casino24nl.com. Read and use them to win real money.
ReplyDelete